OS4X Enterprise - importing ENGPART
How are ENGPART imports handled in OS4X?
ENGPART import is based on OS4X jobs which has a clearly defined sender and recipient, files and meta information. The only (one) data file in this just is the ENGPART file itself.
The following behaviour is implemented in the ENGPART import:
- Locations:
- Previously imported locations will be updated (referenced by their IDs, set by the sender's ENGPART creator)
- Existing location with the same description will be updated
- non-existant locations will be created
- Departments:
- Previously imported departments will be updated (referenced by their IDs, set by the sender's ENGPART creator)
- Previously imported departments will be moved from other locations (if they exist in another locations of the partner) (referenced by their IDs, set by the sender's ENGPART creator)
- Existing departments with the same description in the selected location will be used
- Existing departments with the same description in the others locations will be moved
- non-existant departments will be created in the referenced location
- Users:
- Previously imported users will be updated (referenced by their IDs, set by the sender's ENGPART creator)
- Previously imported users will be moved from other departments (if they exist in another department of the partner) (referenced by their IDs, set by the sender's ENGPART creator)
- If no user is found, a search over the selected department will be executed (searching for first and last name). Existing users will be updated.
- If no user is found, a search over all departments in all sites will be executed (searching for first and last name). Existing users will be updated and moved.
- If no user is found, a search over the selected department will be executed (searching for email address). Existing users will be updated.
- If no user is found, a search over all departments in all sites will be executed (searching for email address). Existing users will be updated and moved.
- non-existant users will be created in the referenced department
For all found entities without an ENGPART ID, this internal ID will be configured to the entity in order to find the entity in future imports as fast as possible.
How are ENGPART jobs recognized?
There are two ways of incoming ENGPART jobs:
- Automatically received via OFTP. The ENGDAT abstract file contains an information that the job is an ENGPART job. The plugin "OS4X plugin os4xplugin_engdatv2_decode" interprets that special attribute, logs out this situation in the job plugin logs and stops further processing of the job (even if a recipient has a defined receive plugin group).
- Manual file upload with configuration of the sending company.
Supported ENGPART versions
Two versions of ENGPART are supported:
- ENGPART v3: special formatted and complex to understand ASCII based file
- ENGPART v4: XML based, well defined format
Attributes to be imported
- Locations:
- Name
- Street
- Postal code
- City
- Country
- Departments:
- Name
- Country
- User:
- First and last name
- Phone number
- Fax number
- Email address
- Address code
- Country
Handling automatically received ENGPART jobs
This chapter deals with handling automatically received ENGPARTs.
Information about new ENGPARTs
OS4X's administrative web interface shows a section "Possible configuration problems" in the "Welcome" tab of the interface. When there are unhandled ENGPART jobs available, a message shows up with a shortcut button to this panal:
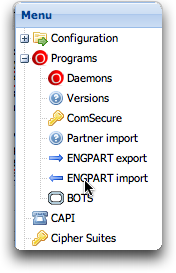
Alternatively, navigate to "Programs" -> "ENGPART import" in the menu on the left:
ENGPART overview
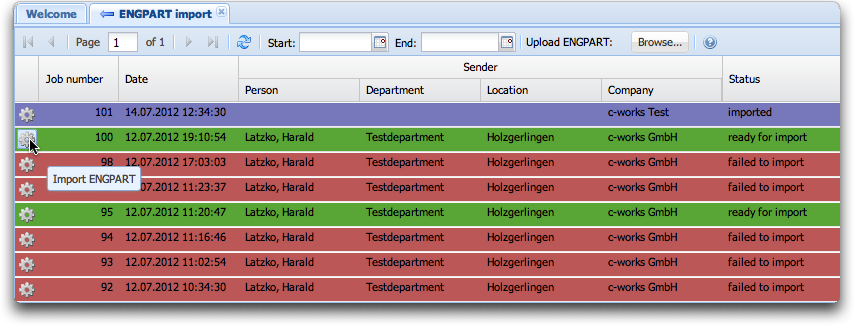
The opening panel shows all available ENGPART jobs, including sender information, job number, status and an action button for importing this ENGPART:
Click on the "Import ENGPART" icon in order to start the import wizard.
Import ENGPART - step 1: introduction
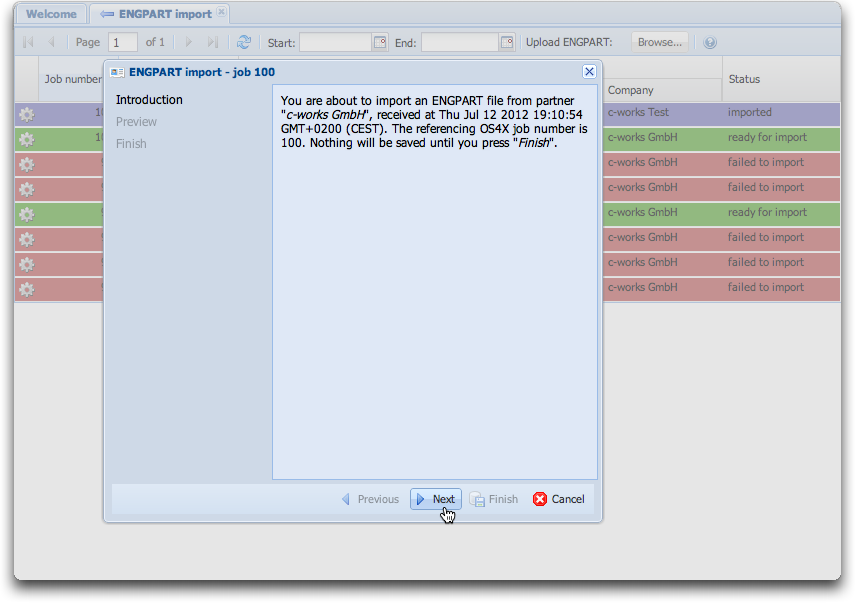
An introduction shows some details about the ENGPART job, as the job number, sender and date of receipt:
Click on the "Next" button to proceed.
Import ENGPART - step 2: select entities for import
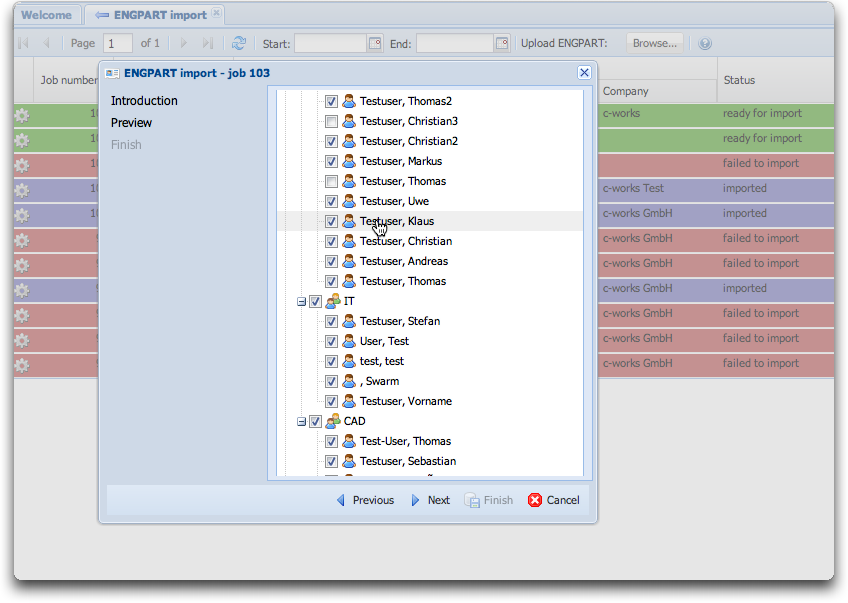
The following tree overview lets you en- or disable entities (such as locations, departments and users) for import. The selection is being saved in the background for later usage, so if you cancel the process and return to the import wizard later, your selection will be the same as you have left it:
Some rules are important:
- When disabling a location, all included departments and users are disabled, too.
- When disabling a department, all included users are disabled, too.
- When enabling a department in a disabled location, the above location will be enabled, too.
- When enabling a user in a disabled location and a disabled site, the above department and location are enabled, too.
(De-)select the needed entities to be imported into the sender's structure and press "Next".
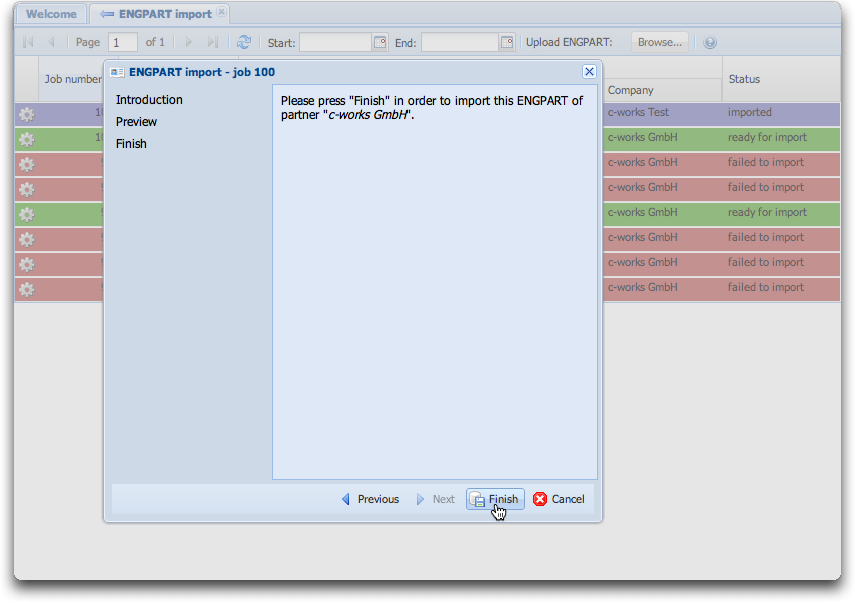
Import ENGPART - step 3: finish the import
If you want, you can abort the import process here and return to your selection later. If you want to import the previously selected entities, press "Finish".
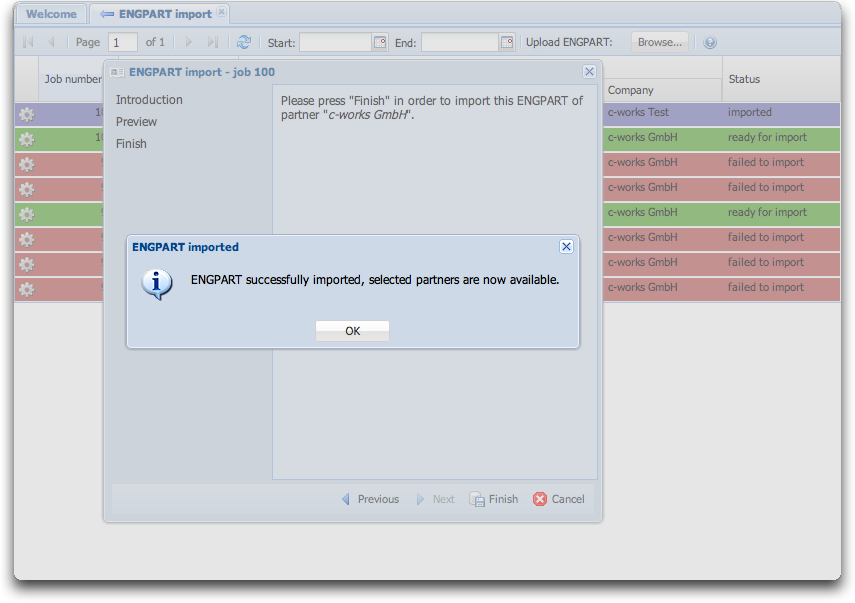
Import ENGPART - step 4: finished the import
The upcoming popup shows you the successful import process of the ENGPART. After that step, all selected entities are imported into the partner schema of the sender's company.
Handling manually uploaded ENGPARTs
If you receive an ENGPART file from an external source, you can upload it easy with the upload button on the top of the panel:
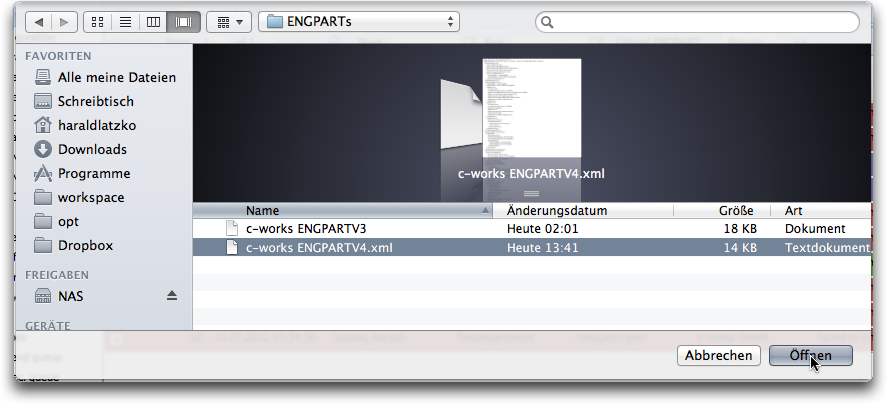
Start upload process
Use the webbrowser's file select browser to navigate to your ENGPART file you wish to upload:
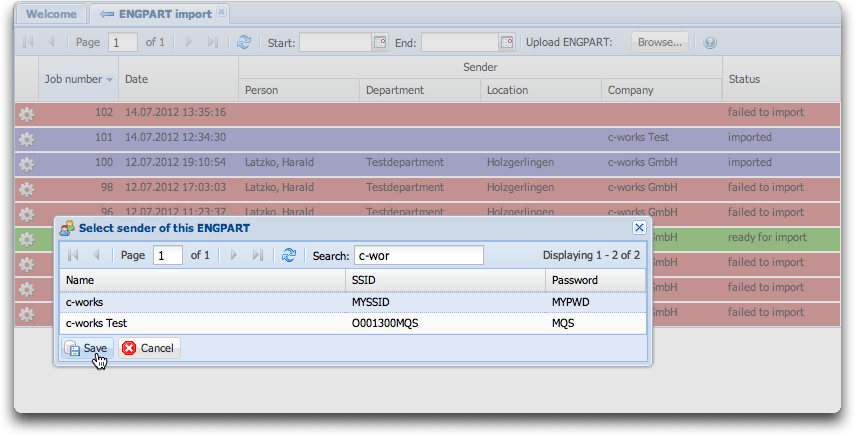
Select sender of ENGPART
In order to reference a sender of the ENGPART, a partner entry must be set up. If no sender is configured, the ENGPART job gets the status "failed to import". Select the corresponding partner and click on the "Save" button.
Proceed with the import wizard
The rest of the process is the same as handling an automatically received ENGPART job, jump to the chapter Import ENGPART - step 1: introduction

