OS4X Directory Scanner
(incomplete / come back later for a final version)
What is the OS4X Directory Scanner?
The goal of the directory scanner is to scan configured directories (without recursion) for new files (older than 60 seconds) and apply a matching pattern on them. If the pattern matches, the file will be moved to the configured outgoing directory and an executable will be started with parameters defined for this directory scanner entry, based on either fix values or dynamic ones.
The OS4X Directory Scanner is available since OS4X 3 in OS4X 3 Core.
Configuration of scanning tasks
Using the directory scanner needs some configuration via web interface and optionally in addition on the filesystem (if you really want to modify the behaviour more deeply).
Menu entry
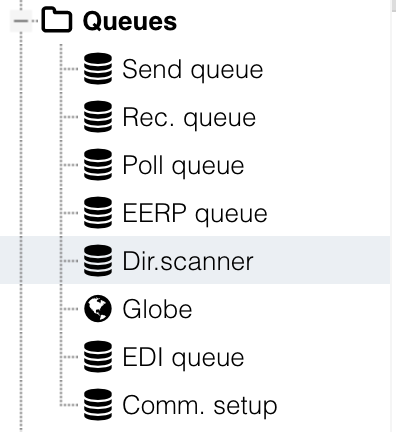
The menu entry "Dir.scanner" in the administrative web interface exists if the binary
os4x_ds_dryrun
exists in the installation directory for binaries of OS4X.
Clicking on that links shows you the actually configured directory scanner entries, with an empty view in the default installation.
You can click on "New" or the empty paper icon to create a new entry. In order to edit an entry, click on the edit icon.
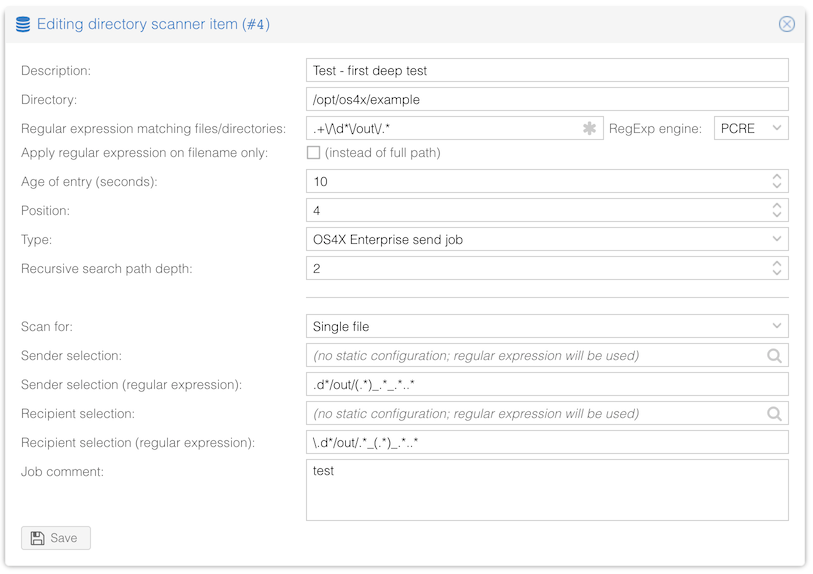
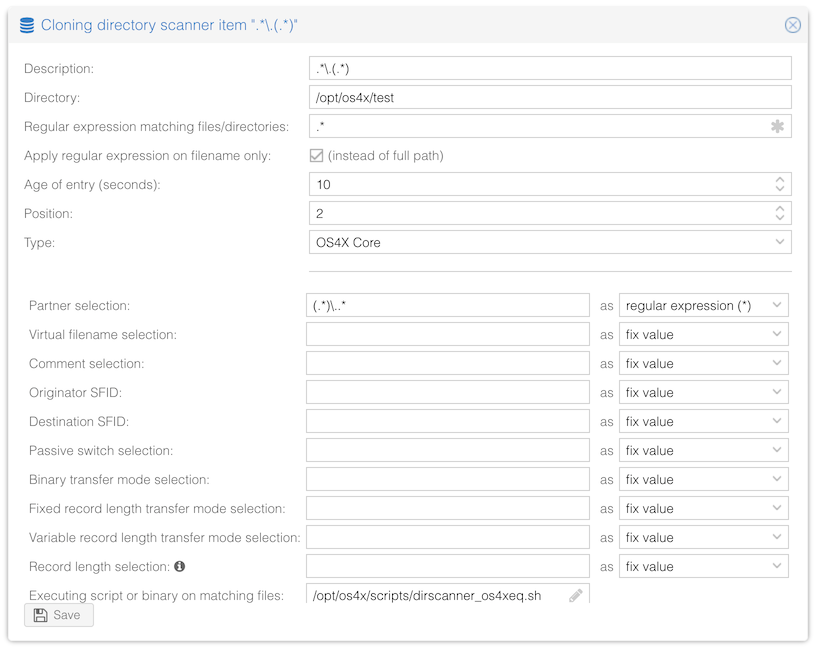
The following screenshot shows the edit page of an existing directory scanner entry:
Name
The name of the directory scanner entry can be a human-interpretable textual string which will only occur in the logs.
Directory
The directory on which the directory scanner works on. Remember that only that directory without subdirectories will be scanned. The configured outgoing directory cannot be configured since the files will be moved into that directory before executing the command for a found file.
Regular expression
The file name found in the configured directory must match this regular expression. Regular expressions are quite complex but very powerful. The name of the found file must result into a true value (which means that any output of the regular expression is valid but not the empty). The engine compiling these regular expression values is always PCRE, which implements Perl-style regular expressions, which are widely used across different systems.
If the regular expression is not correct, the directory scanner will identify this situation, add a log entry to the system log and disable this configured directory scanner configuration.
Configuration values types
A found file matching the configured regular expression leads to a number of paraeters which are then passed to the executable for later using them. There are two types of configuration values you can use for every single configuration parameter:
fix values
The easiest way to use a configuration value is to pre-set it with a fix value. This is mostly a good decision if i.e. the directory is partner-based and the configuration of the communication partner is fix (due to its nature of residence in that configured directory).
variable values
Another way to extract a configuration value is based on the found file. The found filename (without path) will be passed to the configured regular expression, where the first variable definition, which are normally enclosed by round brackets: '(' and ')'. Subsequent variable extractions will be ignored. If no variable value is extractable by the configured regular expression on the given file, an empty string is used as parameter value.
"matching pattern activates functionality" configuration values
There exist parameters which are being activated if the returned value is non-empty. So even a zero ("0") activates the functionality. Be sure to enable a functionality only by configuring values, ignoring their interpretation.
Configuration values
These fixed parameters are available which are then passed to the configured executable below:
Partner selection
This parameter defines normally a partner shortname. Used by the enqueueing script.
Virtual filename selection
Since the file has a separate name on the filesystem and during transport (and lateron at partner's receive side), you have to define a virtual filename.
Comment selection
This comment will be put into the comment field of the enqueued file when using the standard enqueueing process.
Originator SFID / Destination SFID
For a separate sender's and receiver's SFID extraction, this value defines with which SFID the file will be sent. Leave empty if you want to use the partner's default configuration.
Passive switch selection
If the found file should be enqueued passively, the value of this configuration parameter should be not-empty. (see "os4xeq", parameter "-P").
Binary transfer mode selection
If the default transfer mode of "binary" should be used instead of fixed or variable record length, this parameter activates this functionality if an non-empty value is returned.
Fixed record length transfer mode selection
If the default transfer mode should be overridden and "fixed record length" files should be transfered, a non-empty return value activates this functionality.
Variable record length transfer mode selection
If the default transfer mode should be overridden and "variable record length" files should be transfered, a non-empty return value activates this functionality.
record length selection
If a non-binary transfer mode is used for the found file, you have to define which record length is being used (max.: 2048). This value is ignored in binary transfer mode.
Execution
As stated before, a found file matching the regular expression pattern has got a number of configuration values. These parameters are passed to an executable, which has the task to handle these input parameters. You can insert any executable you want, you may want to script your own ones or use presets included in the standard installation.
The included scripts are:
- "OS4X Core enqueueing" (
dirscanner_os4xeq.sh): This script parses all parameters correctly to enqueue the found file to the OS4X send queue with the given parameters. - "OS4X Enterprise job creation" (
dirscanner_os4x_enterprise.sh): This script template has to be configured and implemented according to your needs and only shows you how to react on the parameter. The implementation is up to you (due to many different usages of OS4X Enterprise)
The presets are not fix, you may insert any executable you want.
Sorting order
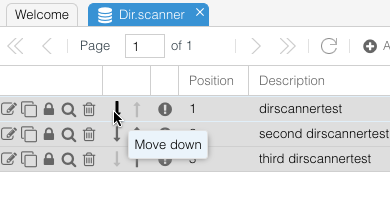
The OS4X Directory Scanner functionality scans directories in the order of the configuration, so you have to keep in mind that top-level entries will be scanned first. You may want to configure the same directory with different regular expressions for file name mathing in order to minimize the amount of scanned directories but increase the complexity of file names. Since regular expressions may match in both cases, you can keep your entries in order by clicking the icons on the right-hand of the directory list (up and down).
Enable / disable entry
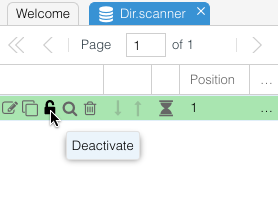
In order to test entries (or if anything is not configured correctly OS4X disables entries, too), you have the possibility to en- and disable directory scanner entries. Disabled entries are not used by the directory scanner, they are displayed as a grey line. To disable, click on the third icon on the left hand entitled as "deactivate directory entry '...'":
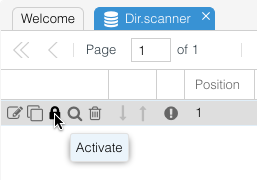
To enable an entry, click on the icon "activate directory entry '...'":
Preview / Dry-run
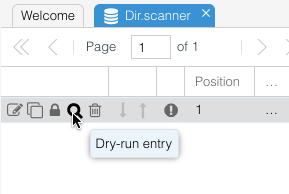
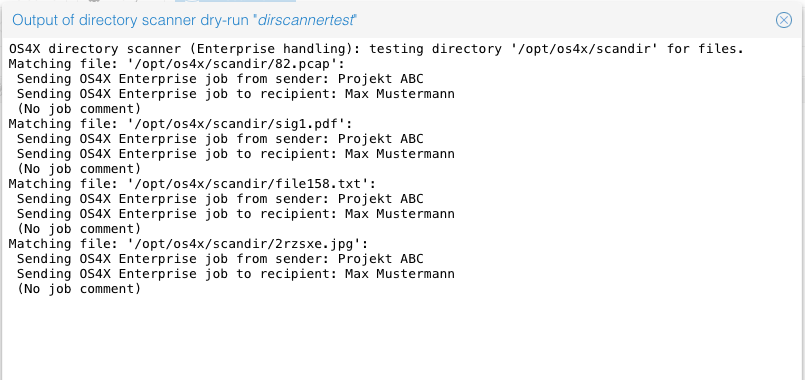
A preview shows you via web interface what would happen if the directory scanner whould start to work on the selected entry. Click on the icon "dry-run directory entry '...' for verification" to start the process:
The new opening windows shows you what would happen:
Clone entry
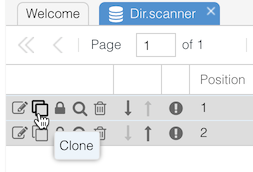
For faster configuration, a directory scanner entry can be cloned. Every configuration parameter is being copied into the cloned entry, a new name has to be given to the entry. Click on the icon "clone directory entry '...'" to clone an entry:
Then configure a new name for the cloned entry:
Delete entry
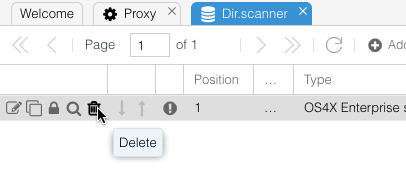
In order to delete a directory scanner entry, click on the trash icon entitled with "delete directory entry '...'":
Then confirm the deletion:
Logging
Logging will be done in general for the following items:
- a regular expression is not valid
- a directory is not accessable
- a file which should be moved by the directory scanner is not movable (which includes a inner-filesystem and outer-filesystem file movement)
In addition, logging is globally configurable for every found file and execution of the command via a configuration parameter ("Configuration" -> "Logging" -> "Enable directory scanner logging?"). If this configuration parameter is enabled, every single file which has been found by the directory scanner and which succeeds the configured regular expression will be logged, including the time and date, the script, all parameters, returncode of the script and the its output. Log vault functionality is given here, too.
