OS4X Enterprise - Job management
Requirements
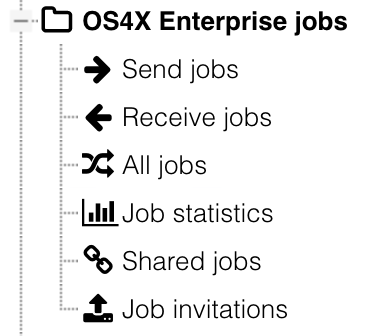
In order to manage OS4X Enterprise jobs, OS4X Enterprise must be enabled via "Configuration" -> "OS4X Enterprise" -> "Is OS4X Enterprise installed?". After enabling this checkbox, the menu on the left panel expands and the category "Jobs" contains "Send jobs" and "Receive jobs":
Job types
Two job type exist:
- incoming jobs
- outgoing jobs
The two type of jobs differ in the selected plugin group used for plugin execution. The plugin groups used are:
Incoming jobs
The configured "default receive plugin group" is the first plugin group executed. The main task of this plugin group should to define a sender and/or recipient of this incoming job.
After this plugin group executed, the configured plugin group of the found recipient is being executed (this plugin group is intended to execute partner dependand logic), where the following logic is used:
- if configured, use the configured receive plugin group of the recipient
- if no recipient receive plugin group is configured, use the receive plugin group of the department
- if no department receive plugin group is configured, use the receive plugin group of the location
- if no location receive plugin group is configured, use the receive plugin group of the partner
- if no partner receive plugin group is configured, set the job to aborted and log this in the plugin logs stating that there is no receive plugin group defined.
Outgoing jobs
The configured send plugin group of the recipient of the send job is executed, using the following logic:
- if configured, use the configured send plugin group of the recipient of the job
- if no recipient send plugin group is configured, use the send plugin group of the department
- if no department send plugin group is configured, use the send plugin group of the location
- if no location send plugin group is configured, use the send plugin group of the partner
- if no partner send plugin group is configured, set the job to aborted and log this in the plugin logs stating that there is no send plugin group defined.
Managing jobs interactively
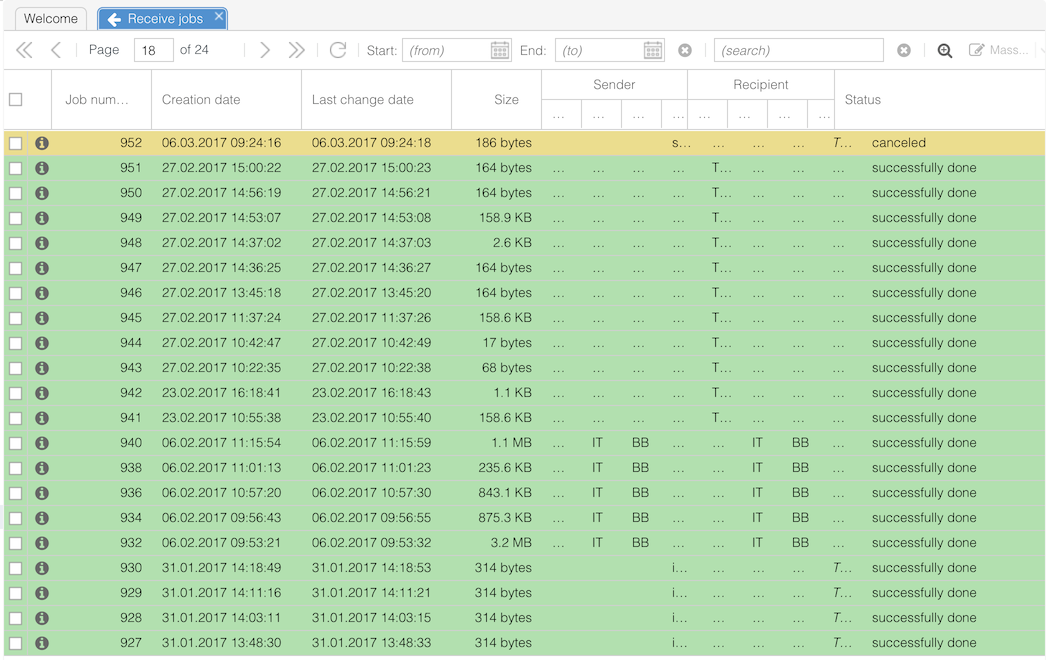
Given a job list (either send of receive jobs), the web interface shows a table of all jobs:
 The columns contain links to more actions:
- job number (left): link to job overview and management
- date: -""-
- sender / receiver: all separate entities (recipient, department, location and partner) are links to the corresponding "edit" pages
- status: a link to display only jobs of exactly that status
The job status can be limited to a fine-grained search via the table below the job list:
File:Joblist-status-select.png
When changing one entry of the table, the job list gets actualized dynamically.
Job details
When clicking on the job number or date (tooltip'ed as "show job #..."), the job details get displayed:
Details and actions
This part offers access to the "initial" and "actual" job XML for viewing, displaying in source and even editing the entries. These entries are saved in the database.
The buttons have the following functions:
- Cestart: Restart the job, executing the recipient's plugin group from scratch
- Outgoing jobs: restart the send plugin group of the recipient
- Incoming jobs: restart the receive plugin group of the recipient
- Cancel: set a cancel bit in the database to abort the job after the actual plugin being executed. If the actual plugin being executed is an asynchronous plugin, this asynchronous plugin will be executed with the parameter "-c" and the job number in order to let it abort cleanly. See OS4X Server side plugin philosophy.
- Reload: actualize this overview.
- Add comment: add a comment to the job's plugin logs.
- Route: set a new recipient and start its receive plugin group.
Plugin status
The actual plugin status shows the status of the job and, if in execution of a synchronous or asynchronous plugin, the actual plugin name.
Plugin logs (graphical)
File:Job-view-details-plugin-logs.png
If GD2 is available as PHP extension on the webserver, a graphical view of the plugin logs is available for scrolling through them.
Plugin logs (textual)
When clicking on the "+" sign on the left below the graphical plugin logs, the textual plugin logs gets displayed with date of execution, plugin name, date, output and returncode of the plugin (where a value of zero "0" is successful/green, any other value shows an errornous red line).


