Difference between revisions of "OS4X Webaccess creating a send job"
| Line 1: | Line 1: | ||
| − | By clicking on the top-left icon | + | By clicking on the top-left icon "<i class="fa fa-folder-open" aria-hidden="true"></i> New send job" you create a new collection for a new send job. A tab window opens, where all needed information are needed: |
This new window is divided into the four sections: | This new window is divided into the four sections: | ||
Latest revision as of 14:01, 11 April 2019
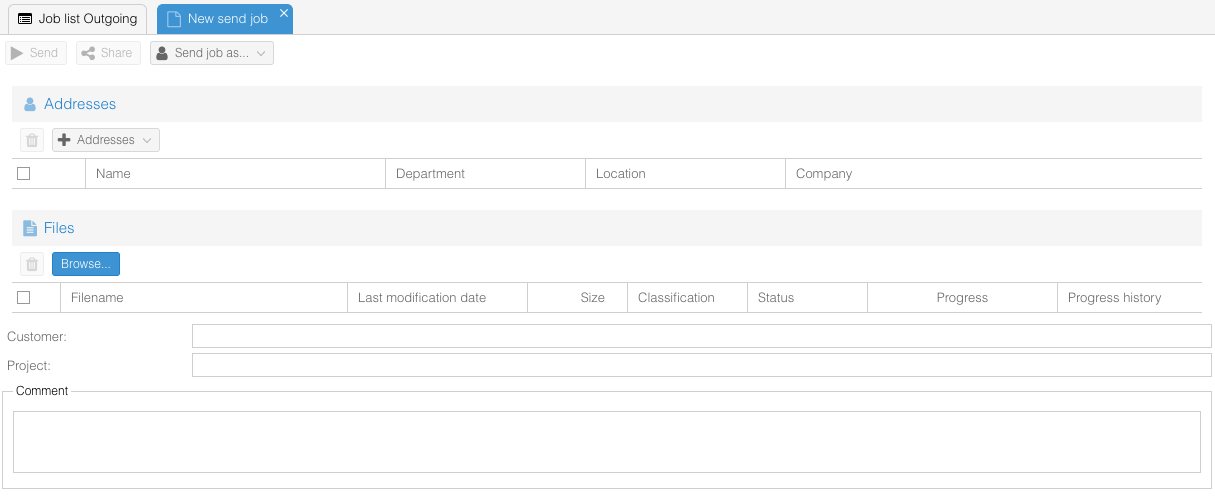
By clicking on the top-left icon " New send job" you create a new collection for a new send job. A tab window opens, where all needed information are needed:
This new window is divided into the four sections:
- Toolbar icons (header)
- Recipient(s)
- File(s)
- Comment
At least one recipient and one file has to be added to fulfill the requirements of a new send job. The interaction button for "send job" is disabled by default ![]() and gets activated after all needed information are gathered:
and gets activated after all needed information are gathered: ![]() .
.
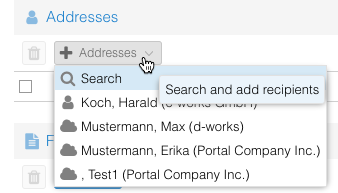
If you have already sent OS4X jobs to recipients, the last recipients are accessible via a menu on the "Addresses" button. You can (multi-)select addressed entities and remove them.
You can configure the amount of displayed entries.
Aborting a send job by clicking the "abort" button ![]() removes all uploaded files, discards any selections and closese this tab after accepting this action.
removes all uploaded files, discards any selections and closese this tab after accepting this action.

