OS4X VMware virtualized image - expand HDD
It may be come from time to time that the internal HDD of OS4Xvirtual is not big enough:
- either the software installation or the MySQL database becomes too big
- the internal HDD is used for saving the exchanged data (because this space is not sourced out to another file server)
All steps documented here assume that your virtualization environment supports disk expansion, modern solutions such as these of VMWare or Parallels offer comfortable ways to do such tasks.
The partition growing can be done in various ways. In this documentation we recomment to use gparted, a graphical tool to manage partition schemas. Using gparted has the benefit that the used filesystem is expanded, too.
Planning
Expanding the HDD, partition and filesystem needs OS4Xvirtual to be shut down, so you are offline for a time period (duration depends on your system performance and reaction speed of the person doing these steps.
Preparation
Make a backup of every disk configured in OS4Xvirtual.
You also need a Linux system running stand-alone from ISO. We refer to SystemRescueCD, which is a very reliable and stable solution for such tasks: http://www.sysresccd.org/Download
Execution
Shutdown
All disk operation must be done offline, so shut down OS4Xvirtual.
Expand disk
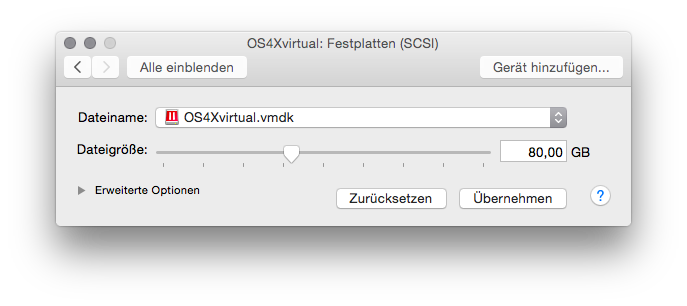
Select the disk in the virtualization environment and expand it to the desired size. (Example screenshot taken from VMWare Fusion under Mac OS X)
Add CD/DVD drive to VM
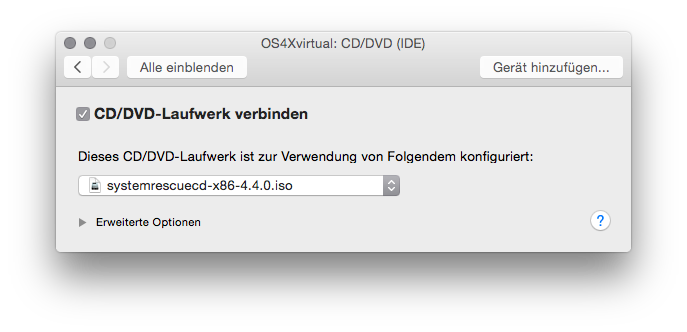
In order to boot from the downloaded ISO image, you have to make it available to the VM. (Example screenshot taken from VMWare Fusion under Mac OS X)
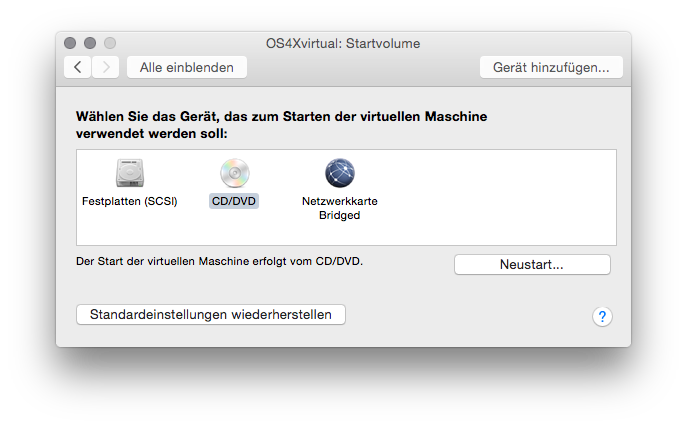
Make this CD/DVD drive the bootable device:
Boot up from CD/DVD
Boot the virtual image from the rescue system.
In case of SystemRescueCD, select the default boot options. Then, at the command prompt, start the graphical environment by typing
startx
gparted
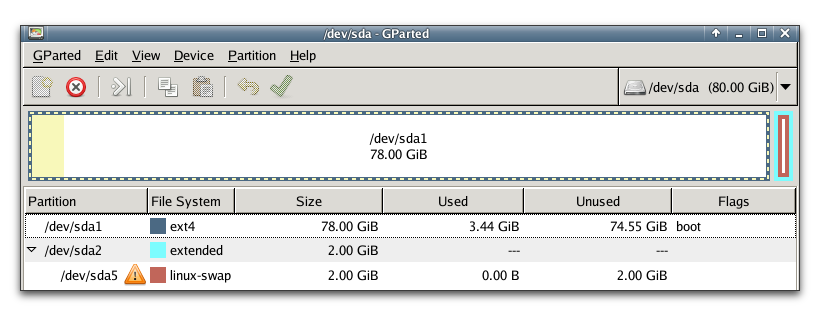
With an expanded disk, the program "gparted" shows you the following partition table for OS4Xvirtual:
The following steps are required:
Expand /dev/sda2
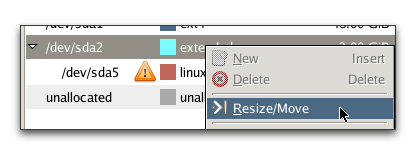
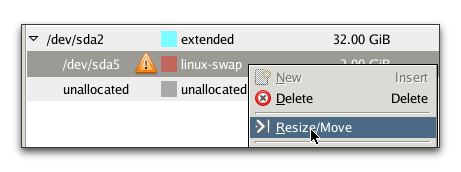
Select the partition /dev/sda2 ("extended" filesystem), right click and select "Resize/Move".
In the new window, select the right arrow and drag it to the right, so that the value of "Free space following" is zero:
After that, click on "Resize / Move", the window closes and this step will be added to the task list.
Move swap partition
Select the swap partition /dev/sda5, right click and select "Resize/Move".
In the new window, grab the small partition and move it to the complete right, so that the value of "Free space following" is zero:
After that, click on "Resize / Move", the window closes and this step will be added to the task list.
Minimize /dev/sda2
Select the partition /dev/sda2 ("extended" filesystem), right click and select "Resize/Move".
In the new window, select the left arrow and drag it to the right, so that the value of "Free space following" is zero:
After that, click on "Resize / Move", the window closes and this step will be added to the task list.
Expand /dev/sda1
Select the partition /dev/sda1 ("ext4" filesystem), right click and select "Resize/Move".
In the new window, select the right arrow and drag it to the right, so that the value of "Free space following" is zero:
After that, click on "Resize / Move", the window closes and this step will be added to the task list.
Apple changes
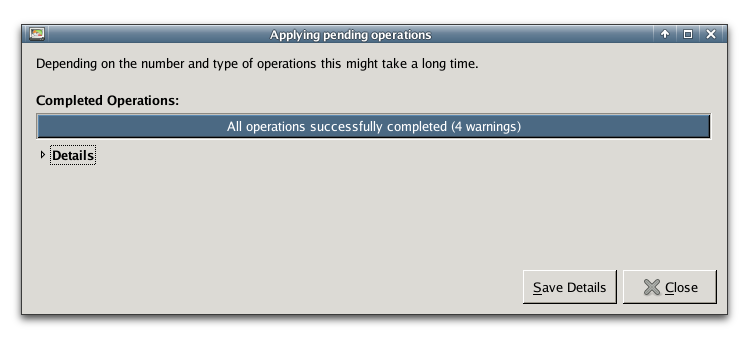
Now, it's time to apply all changes. Click on the toolbar button "Apply all operations", apply on all questions which may arise:
Verify new partition schema
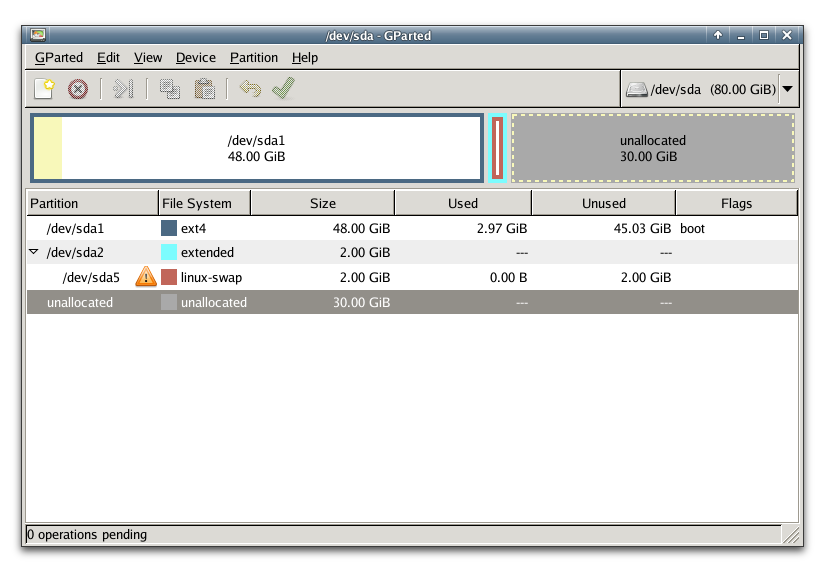
After having changed everything successfully, a partition table like this may greet you:
Shut down, remove CD/DVD
Shut down the emergency Linux system. After that, remove the mounted CD/DVD drive from the VM. Optionally, change the boot order to boot from HDD again.
Boot VM, verify filesystem
After having started OS4Xvirtual again, you may check the local filesystem by invoking the following command:
df -h /
The output may be as follows:
root@os4xvirtual:~# df -h /
Filesystem                                              Size  Used Avail Use% Mounted on
/dev/disk/by-uuid/97de7f51-9be9-40cc-b6e0-767d2d080d50   77G  2.3G   71G   4% /
